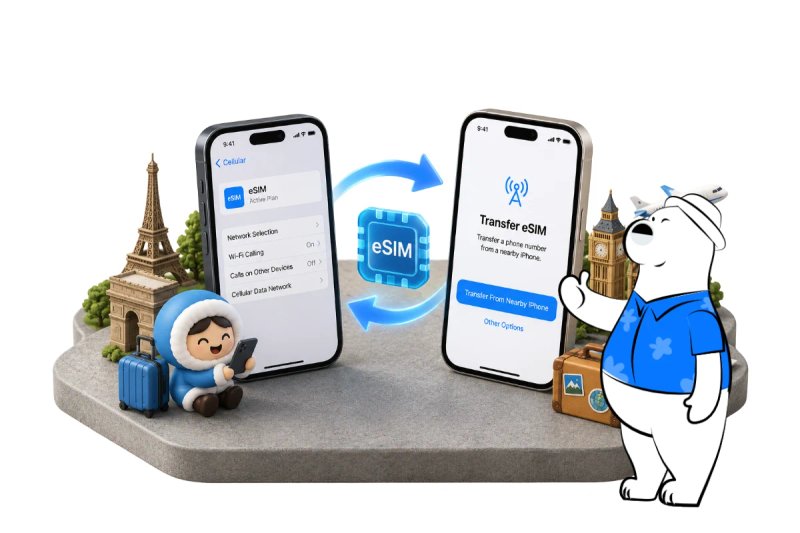
To activate an eSIM on Android, first install the eSIM profile over Wi-Fi, then select it for mobile data and enable data roaming on that eSIM if your provider requires it. Samsung Galaxy and Google Pixel use different settings paths. Check compatibility and carrier unlock status before starting.
Before You Install an Android eSIM
Confirm that your particular phone model and regional variant support eSIM, that it is carrier-unlocked, and that you have a stable internet connection. Check Eskimo's eSIM-compatible device guide before purchasing a plan. Keep your QR code or activation details accessible. Installation requires internet access, but a successfully downloaded profile does not necessarily mean the travel data connection is active.
How to Install an eSIM on Samsung Galaxy
- Connect to Wi-Fi and open Settings > Connections > SIM manager.
- Tap Add eSIM and choose Scan QR code.
- Scan the QR code supplied by your eSIM provider and follow the confirmation prompts.
- If offered, use Enter activation code and enter the provider's exact code instead.
- In SIM manager, choose the new eSIM for Mobile data when you are ready to use it.
- Review the Data roaming setting for that eSIM and enable it if your travel provider instructs you to.
Samsung documents these controls in its official Galaxy eSIM guide. Menu names may vary with One UI, carrier, and device region.
Screenshot placement: Samsung Settings > Connections > SIM manager > Add eSIM. Alt text: Samsung Galaxy Add eSIM screen with QR code option.
How to Install an eSIM on Google Pixel
- Connect to Wi-Fi and open Settings > Network & internet > SIMs.
- Choose Add SIM or Download a SIM instead, depending on the Pixel version.
- Scan the provider QR code or use the manual activation option if offered.
- Follow the onscreen steps to download the profile.
- Select the travel eSIM for mobile data when needed, and review its roaming setting.
Google's interface varies by Android release, Pixel model, and carrier. If an option is missing, search Settings for SIMs or eSIM rather than assuming the phone is incompatible.
Screenshot placement: Pixel Settings > Network & internet > SIMs. Alt text: Google Pixel SIM settings showing option to add an eSIM.
Get Eskimo eSIM to stay connected globally
Need internet while travelling? Here's what we recommend:

Fixed data plans
- No speed reduction
- No expiry, keep your data forever
- Transfer data to anyone
- Personal hotspot


How to Install Eskimo eSIM From the App
Open the Eskimo app and locate the installation instructions for your purchased eSIM. The currently published Eskimo Android installation guide describes direct installation, QR code, and manual activation options, but app labels can change. Follow the method actually displayed in your app and the confirmation prompts on your phone. Do not assume a specific button label is present on every app version.
For QR installation, display the code on another screen when necessary. For manual installation, copy the exact activation details supplied in your Eskimo account or confirmation message. Never share activation codes publicly.
APN Settings and Data Roaming
First try the automatically provisioned APN. Do not manually enter historical APN usernames or passwords unless current Eskimo support instructions for your specific eSIM require them. The older article lists Singtel Postpaid and e-ideas credentials, but those details have not been independently confirmed for every current plan. If data does not work, contact Eskimo support for the correct APN rather than guessing.
Set the travel eSIM as the mobile-data line. Enable roaming on the travel eSIM when instructed, while keeping roaming disabled on your home line if you want to avoid unplanned home-carrier data charges. Read what data roaming means for dual-SIM guidance.
Troubleshooting Android eSIM Activation
| Problem | First safe check | Next step |
| Add eSIM option missing | Confirm model, region, and carrier lock | Contact device maker or carrier |
| QR code fails | Check Wi-Fi and scan a clear original code | Request provider assistance |
| Profile installed but no data | Select eSIM for data; check coverage and roaming | Verify APN with provider |
| No network abroad | Wait for network registration; toggle airplane mode once | Check plan coverage and contact support |
| eSIM already used | Do not delete the profile | Ask provider about reuse or reissue |
Avoid deleting a working or partially installed eSIM as a routine troubleshooting step. Some activation codes cannot be reused.
Mobile Data for International Travel
A travel eSIM can keep maps, messaging, and bookings accessible without swapping a physical SIM. Check each destination against the specific plan, and save tickets offline before departure.
Eskimo travel eSIM plans support eligible destinations within Eskimo's overall footprint of 175 countries and regions. That company-wide figure does not mean every Global plan includes all 175. The universal eSIM is designed for reuse where supported.
New users can claim a free 500MB Global eSIM, subject to the current signup offer and eligibility terms.
Frequently Asked Questions
Can I install an Android eSIM before traveling?
Usually yes. Install it with reliable Wi-Fi, then choose when to use it for mobile data. Check the provider's validity and first-connection rules.
Does installing an eSIM activate my data plan?
Not necessarily. Downloading the profile, enabling the line, and connecting to an eligible network are different stages. Plan validity rules depend on the provider.
Should data roaming be on for my travel eSIM?
Follow the travel provider's instructions for that specific line. Do not automatically enable roaming on your home SIM.
Can I delete and reinstall an eSIM if it fails?
Only after confirming reinstallation eligibility with your provider. Some activation credentials are single-use.
Conclusion
Android eSIM setup is straightforward once you separate downloading the profile from connecting to mobile data. On Samsung, start in SIM manager; on Pixel, start in Network & internet > SIMs. Choose the travel eSIM for data, follow its roaming instructions, and leave the home SIM's roaming setting under your control. If activation fails, check compatibility, Wi-Fi, coverage, and the correct data line before changing APN details. Never delete an eSIM until the provider confirms it can be restored.